Getting your website noticed on Google starts with one important step: connecting it to Google Search Console. If you want your site to rank, bring in traffic, and appear in search results, you must understand how to add your site to Google Search Console correctly. Many beginners think publishing content is enough, but without this free tool from Google, your website is like a shop hidden in a quiet alley that no one knows about. In this guide, we will walk through every step of the process, explain why it matters, and show you how to avoid common mistakes.
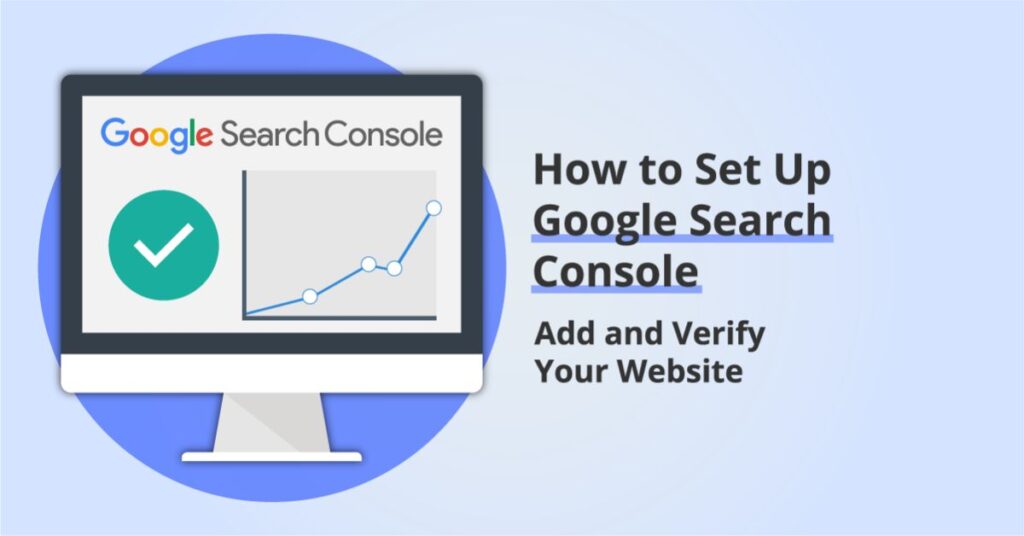
What is Google Search Console and Why is it Important?
Google Search Console, often called GSC, is a free platform offered by Google that allows you to monitor and maintain your site’s presence in search results. It is not just for SEO professionals; small business owners, bloggers, and e-commerce site owners in the USA can all benefit from it. With GSC, you can see how many people click your links, which search terms drive traffic, whether your site is indexed properly, and if there are any technical issues blocking performance.
Imagine running a store in New York without a signboard. People might pass by but never notice you. Google Search Console acts like that signboard. It tells Google that your site exists, ensures your content gets crawled, and alerts you if something goes wrong. Without it, you might not even realize your site has problems like mobile usability errors, broken links, or indexing failures. For example, a restaurant owner in Chicago could use GSC to discover that most customers find their site when searching “best pizza near me,” and then optimize content around that keyword for more visibility.
Step by Step Guide: How to Add Your Website to Google Search Console
The process of adding your website to Google Search Console is simple but requires careful attention to each step. The first requirement is to have a Google account. Once signed in, go to the Google Search Console page and click on “Add Property.” You will then be asked to choose between a Domain Property or a URL Prefix Property. Selecting the right option is crucial because it determines how much of your site data will be tracked.
After choosing the property type, Google will ask you to verify ownership. This step confirms that you have permission to manage the site. Depending on your platform—WordPress, Shopify, Wix, or a custom-built site—you may prefer one verification method over another. Once verification is successful, the next step is to submit your sitemap. This tells Google about the structure of your website and helps it crawl your pages efficiently. Finally, after setup, you should explore the performance and coverage reports to understand how your site is performing and where improvements are needed.
Different Methods to Verify Website Ownership in Google Search Console
Verification is not just a formality; it is Google’s way of making sure only authorized people can access site data. When you add your site to Google Search Console, you must complete the verification process to prove ownership. There are several different methods to verify website ownership in Google Search Console. Some methods are technical, while others are easier for beginners. The method you choose depends on the access you have to your website files or domain settings.
Domain Property vs URL Prefix Property
Domain Property verification covers your entire domain, including all subdomains and protocols. For example, if you own “mywebsite.com,” the Domain Property includes “www.mywebsite.com,” “blog.mywebsite.com,” and even “https://mywebsite.com.” This option is recommended for businesses that want a complete overview. In contrast, URL Prefix Property is limited to the exact URL you enter. If you verify “https://www.mywebsite.com,” the data will not include “http://mywebsite.com” or “blog.mywebsite.com.” Many beginners in the USA choose URL Prefix for simplicity, but professionals prefer Domain Property for broader coverage.
HTML File Upload Method for Verification
One common way to verify your site is the HTML File Upload Method for Verification. Google provides a small HTML file that you download and place in the root directory of your website. Once uploaded, you return to Search Console and click verify. This method works well if you have direct access to your site’s hosting files, but it may not be suitable for beginners using website builders without file access.
Meta Tag Method for Verification
Another option is the Meta Tag Method for Verification. In this approach, Google gives you a meta tag code to paste into the <head> section of your homepage. If you use WordPress, you can easily add it through an SEO plugin like Yoast or Rank Math. Platforms such as Wix and Shopify also provide settings where you can paste the tag without editing code directly. This method is quick and does not require file uploads, but it is an essential step when you add your site to Google Search Console, and you must make sure the tag remains in place permanently.
DNS Record Method in Domain Settings
For those who want the most reliable option, the DNS Record Method in Domain Settings is ideal. This method requires adding a TXT record to your domain registrar, such as GoDaddy, Bluehost, or Namecheap. After saving the record, you may need to wait several hours for the changes to take effect. Although it takes longer, this method verifies ownership at the domain level and remains valid even if you redesign your site.
Using Google Analytics or Google Tag Manager for Verification
If you already use Google Analytics or Google Tag Manager, verification becomes simple. By linking your existing Analytics or Tag Manager account, Google Search Console can confirm ownership without requiring new codes. This method is often the fastest for sites already connected to Google tools, and it ensures smooth integration of data across platforms.
How to Submit Sitemap in Google Search Console
A sitemap is like a blueprint of your website that tells Google which pages are important. Without submitting a sitemap, Google might miss some of your pages or index them slowly. Most website owners in the USA use tools like Yoast SEO, Rank Math, or dedicated XML generators to create sitemaps automatically.
Once you have a sitemap, usually found at “yourdomain.com/sitemap.xml,” you can submit it in the Google Search Console under the Sitemaps section. After submitting, check the status to see if the sitemap has been successfully processed. If errors appear, you may need to review your website’s internal links or correct issues in your robots.txt file. A clean sitemap increases your chances of faster indexing and better visibility on Google.
Common Issues While Adding a Site in Google Search Console
Even though the process to add your site to Google Search Console sounds simple, many beginners run into problems. One common issue is that verification fails because the HTML file or meta tag was removed accidentally. Another problem arises when DNS verification takes too long due to registrar delays. Sometimes, the sitemap shows an error message saying “Couldn’t fetch,” which usually means the sitemap URL is wrong or blocked. It is also common to see coverage issues where certain pages are not indexed. For instance, duplicate content, noindex tags, or crawl budget limits can stop pages from appearing in search results. Website owners in the USA often face these issues when they migrate from one platform to another, such as moving from Wix to WordPress. By carefully checking each step and re-submitting the sitemap when needed, most of these problems can be fixed.
Benefits of Connecting Your Website with Google Search Console
Connecting your website with Google Search Console offers more than just indexing. It provides valuable insights that help you grow your site. By checking the performance report, you can see which keywords bring traffic, which pages perform best, and which regions drive the most clicks. This information is especially useful for local businesses in the USA that want to target nearby customers.
Another benefit is that GSC alerts you about security issues, such as hacked content or spammy backlinks. It also shows mobile usability errors, helping you make sure your site looks good on smartphones and tablets. For e-commerce stores, these insights are crucial because mobile shopping is now the norm. Simply put, connecting your website with Google Search Console is like having a personal assistant who constantly monitors your site’s health and performance.
Fixing Sitemap Errors in Google Search Console
Sitemap errors can be frustrating, but they are usually easy to resolve when you add your site to Google Search Console and monitor reports regularly. The most common issues include “Submitted URL not found,” “Blocked by robots.txt,” and “Redirect error.” These errors indicate that Google cannot properly access or understand your sitemap. A simple fix is to check whether the sitemap URL is correct and ensure that it returns a 200 OK status. Another solution is to validate the sitemap using online tools before submitting it again. If the error is related to blocked resources, reviewing your robots.txt file or updating the sitemap generator plugin often solves the problem. Keeping your sitemap updated after adding new content also prevents future errors.
Understanding Performance and Coverage Reports
The Performance and Coverage reports in Google Search Console are two of the most valuable features. The Performance report shows total clicks, impressions, click-through rate (CTR), and average ranking position. By analyzing this data, you can identify which keywords bring results and which ones need more work. For example, if your article ranks on page two for “best shoes for running,” improving the content and adding internal links might push it to page one.
The Coverage report, on the other hand, shows which pages are indexed, which are excluded, and any errors detected. Errors may include “Page not found (404),” “Soft 404,” or “Server errors.” Fixing these issues ensures that all your important pages remain visible in Google search. For USA-based websites competing in crowded industries, understanding these reports can make the difference between ranking on the first page or being buried deep in the results.
May Also Read: How to Fix Website Loading Problem: Simple Solutions for Faster Browsing in 2025
Conclusion
Learning how to add your site to Google Search Console is a critical step in building online visibility. This tool not only helps Google discover and index your website but also provides ongoing insights into performance, coverage, and technical issues. Whether you are a blogger, business owner, or marketer in the USA, the benefits of connecting your website with Google Search Console are undeniable. By following the step-by-step guide, choosing the right verification method, submitting your sitemap, and monitoring reports, you set the foundation for long-term growth. Consistency is the key, and once your site is connected, you will always have the data you need to improve, compete, and succeed.
Jake Miller is a mobile troubleshooting specialist with 7+ years of experience solving Android and app-related issues. He tests every fix on real devices to ensure accuracy and reliability. Jake creates simple, step-by-step guides to help users quickly resolve everyday smartphone problems.