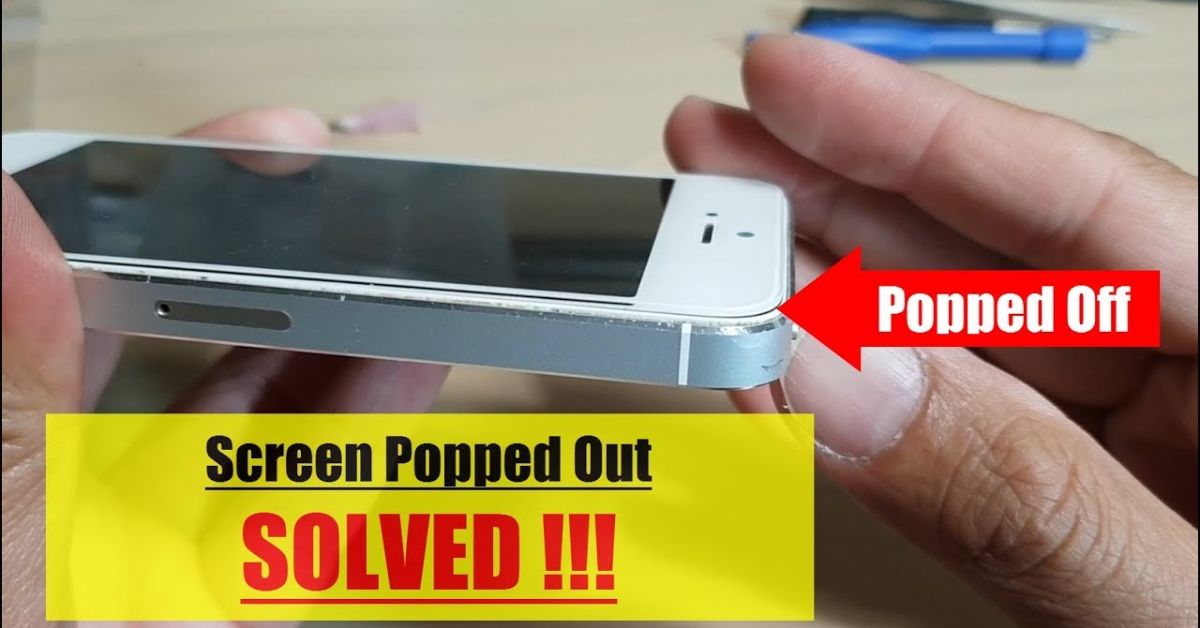
Have you ever noticed your phone screen slightly lifting from one edge or corner? Maybe it’s not sitting flush against the frame anymore? This issue is commonly known as screen popping out, and it’s something many smartphone users in the USA experience especially after a drop or with older devices. If ignored, it can worsen and even lead to complete damage. Fortunately, fixing the Screen Popping out Any Smartphone issue doesn’t always require a trip to the service center. In fact, with a few tools, a bit of patience, and the right steps, you can handle this problem yourself. This DIY tutorial on how to fix the screen popping out of any smartphone will guide you through the entire process in simple English. You’ll learn not just how to reattach the screen, but also why this issue happens and how to prevent it in the future all without needing expensive tools or professional skills.
How to Fix Screen Popping Out Android
If you’re using an Android device, you might have already searched online for “Why is my Android phone screen coming out?” The causes can vary, but there are a few very common reasons that lead to this issue. One of the biggest culprits is battery swelling in smartphones. Over time, lithium-ion batteries can expand, especially if exposed to heat or if the device is charged improperly. When this happens, the battery pushes the screen outward.
Another major reason is physical damage. If you’ve dropped your phone, even if the screen didn’t crack, it could’ve loosened the internal adhesives or frame clips. This results in what’s known as screen detachment, a situation where the display no longer stays firmly attached to the phone body. Other possible causes include poor quality repairs, cheap screen replacements, or factory glue that simply wears off with time and heat exposure.
Understanding these causes is essential because it helps you determine whether a DIY phone screen fix is safe or if you should consider professional help. For example, if the battery looks swollen or the screen is bulging from the middle, do not continue with a DIY fix. It’s best to visit a professional technician or authorized service center smartphone repair facility to handle swollen battery issues safely.
Requirements
Before starting the repair process, you’ll need to prepare a few items. These are simple tools that can be found online or even at home. Some of them might already be in your drawer.
| Item | Purpose |
| Cotton Buds (Q-tips) | Clean smartphone edges before gluing |
| Isopropyl Alcohol (70% or more) | Helps remove dirt, oils, and old glue |
| B-7000 or T-7000 Glue | Phone repair glue safe for screens |
| Microfiber Cloth | Wipe down the phone after cleaning |
| Rubber Bands | Secure screen with rubber bands while drying |
| Small Clamps (Optional) | Hold screen in place if rubber bands aren’t enough |
| Gloves (Optional) | Keep hands clean during repair |
These items are commonly used in low-cost mobile repair and safe jugaad smartphone repair at home. Just make sure you’re working in a clean, flat, and dust-free area for best results.
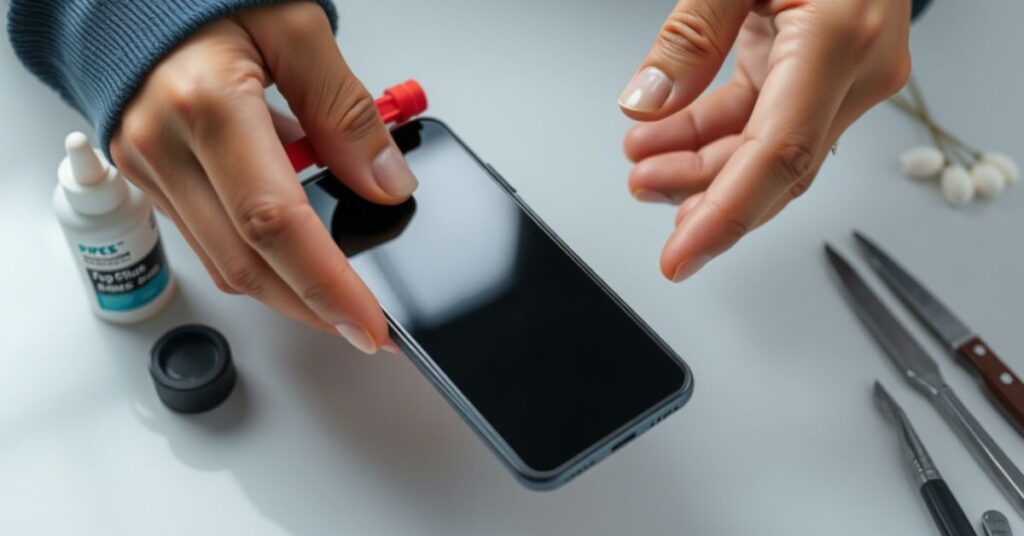
Step 1: Clean your phone’s edges with Cotton Bud
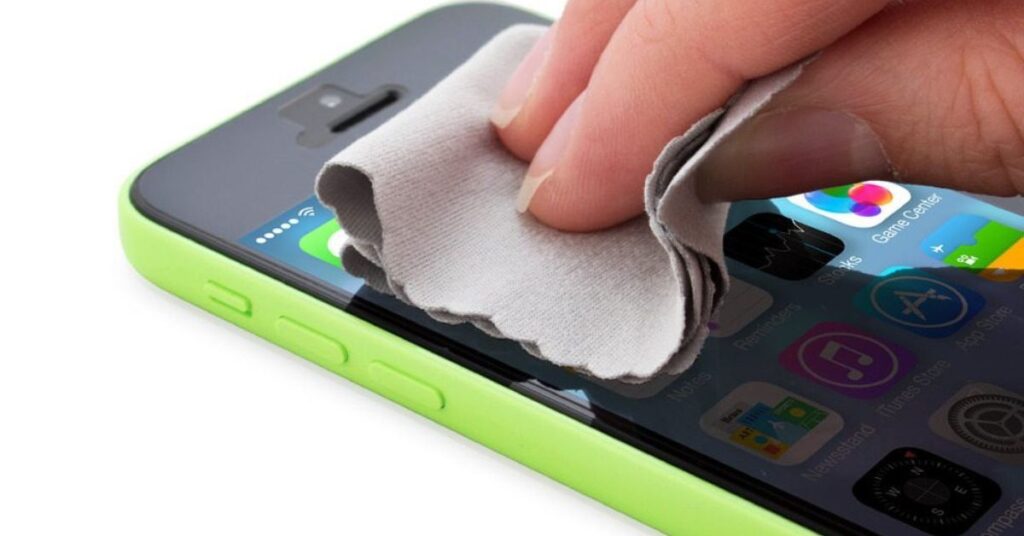
Before applying any glue or trying to push the screen back into place, it’s crucial to clean your smartphone’s edges using a cotton bud. This step is especially important when dealing with the issue of Screen Popping out Any Smartphone, as proper surface preparation ensures the repair actually holds. Dirt, oils from your fingers, or leftover adhesive from a previous attempt can stop the new glue from bonding effectively. Even high-quality adhesive won’t work if the bonding surface isn’t clean. Use a cotton bud dipped in isopropyl alcohol to gently wipe around the entire edge where the screen meets the phone’s frame. Be sure to clean both the inner frame and the lifted screen edges thoroughly. Let it dry fully before applying glue. This preparation helps prevent screen lifting repair failures later and ensures your mobile screen stays securely in place for the long term.
Step 2: Use Any Glue to Stick the Popped out screen
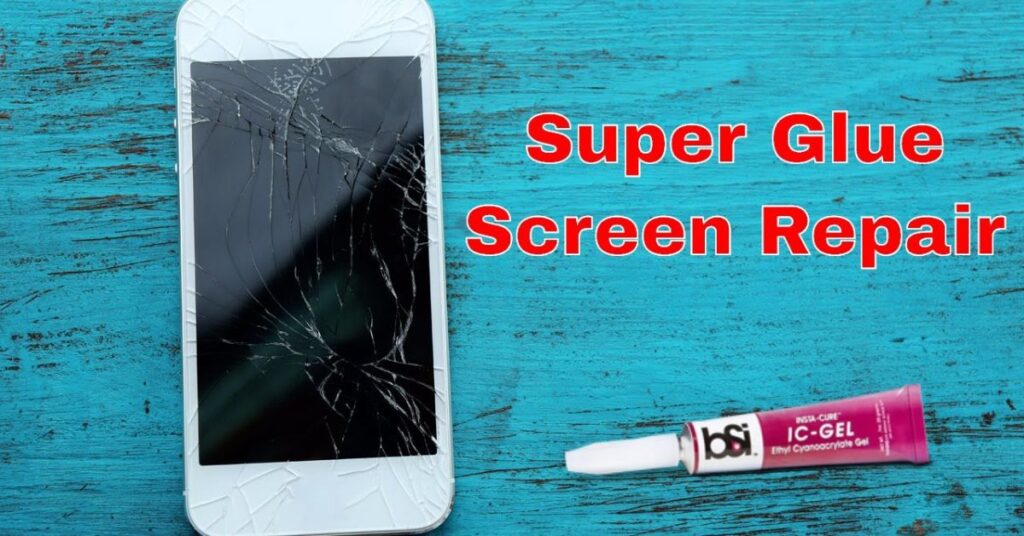
Now it’s time to apply glue. Not all adhesives are safe for electronics. Avoid Feviquick glue, super glue, or any industrial adhesive not meant for mobile repair. These can damage internal components, screen flexibility, and even the display itself.
The most trusted glue for phone screen repairs is B-7000 or T-7000. Both are specially made for electronic repairs. B-7000 is clear and ideal for lighter-colored devices, while T-7000 is black and suited for darker phones. Apply a very thin line of glue along the edges of the screen where it lifted. Don’t overuse it, as excess glue can ooze into your phone and cause more problems.
Let the glue settle for a few seconds before proceeding to the next step. This is where your patience really counts. Rushing this part can result in a crooked screen or weak bond.
Step 3: Apply Rubber Bands
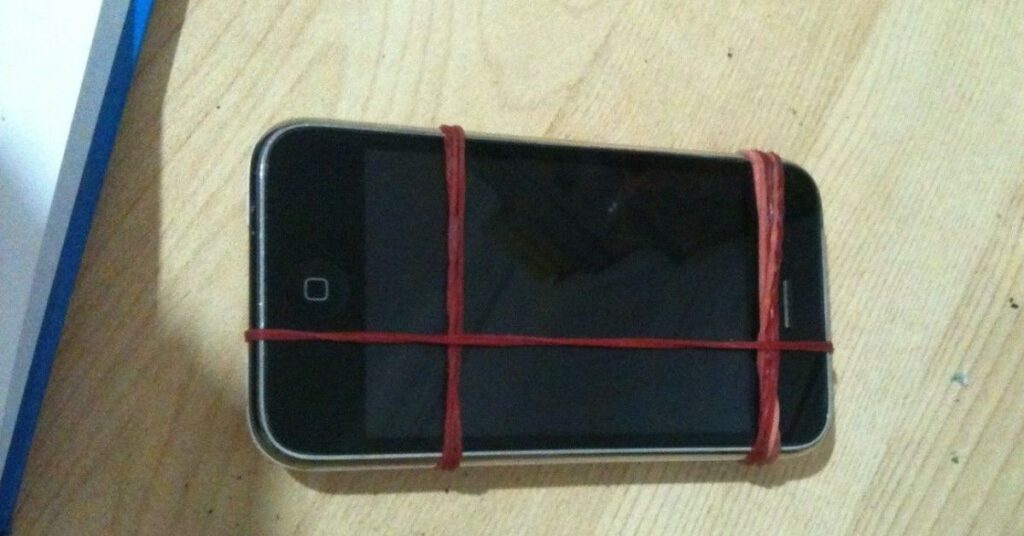
After applying the glue, the next step in fixing the Screen Popping out Any Smartphone issue is to hold the screen firmly in place while the adhesive sets. This is where rubber bands become extremely useful for screen repair. Take two or three thick rubber bands and wrap them gently but securely around your phone. Position one horizontally and another vertically to apply even pressure across the screen. The goal is to secure the lifted edges without putting too much force on the display or accidentally pressing hardware buttons. While some may use clamps, rubber bands are a safer and more beginner-friendly method. This simple trick helps maintain consistent pressure, allowing the glue to cure naturally and effectively making the screen reattachment process more reliable.
Step 4: Wait Till the Glue Sticks and Done
The final step is the easiest but also the most important wait. Glue takes time to dry and form a strong bond. The average glue dry time for phone repair using B-7000 is between 4 to 6 hours. However, for best results, it’s smart to leave the phone untouched overnight.
Don’t try to turn on your phone or check if it’s “stuck yet.” Just let it sit. Keep it in a dry, flat place with the rubber bands still on. If possible, avoid charging it during this time. Let the glue do its job. After 6 to 8 hours, gently remove the rubber bands. Your screen should now be flush, firm, and ready to use. This simple method works on most Android phone screen issues involving minor lifting or detachment.
Video Tutorial
If you’re someone who learns better by watching, you’ll really appreciate this part. There are several helpful DIY screen repair tutorial videos online that walk you through how to fix the Screen Popping out Any Smartphone problem step-by-step. One highly recommended video comes from a trusted U.S.-based tech repair channel. In this tutorial, the creator clearly demonstrates the entire process using the same tools and techniques we’ve discussed. It’s an excellent visual guide if you’re attempting the repair yourself and want to follow along in real time. Watching the fix in action can boost your confidence and help ensure you get the screen reattached correctly the first time.
May Also Read: Ultimate Fixes for No App Found to Open URL on Android Devices
FAQ’s
Can I use Fevikwik or super glue for my phone screen?
No, using Fevikwik glue can damage your screen and phone internals. Always use electronics-safe adhesives like B-7000 or T-7000.
Why is my phone screen popping out again?
There might be internal frame damage or battery swelling smartphone issues. If it happens more than once, visit a repair center.
Is this method safe for iPhones too?
Yes, but it’s more commonly done with Android devices. iPhones have more delicate internals, so extra care is needed.
What if my screen is fully detached?
If your phone screen assembly issues are more serious, or if you see wires or sensors exposed, it’s better to go to a professional repair shop.
Conclusion
Learning how to fix screen popping out of any smartphone at home can save you both time and money. If you’re dealing with a loose phone display that doesn’t involve serious internal damage, a simple DIY repair is often enough. With basic household items and a steady hand, you can successfully reattach the screen without expensive service costs. Always clean the surface first, use proper phone repair glue, and secure it with rubber bands while the glue cures.
If done right, your screen should stay firmly in place for a long time. However, if display detachment issues continue, especially after a home repair, it’s best to seek professional help. Whether you love DIY phone fixes or just need a quick, affordable solution, this guide equips you with everything needed. From screen lifting repairs to temporary fixes, you now have the tools to handle this common smartphone issue with confidence.